
The Ultimate Guide to Changing a Tap Washer A DIY Plumbing Fix
A dripping tap is not just an annoyance—it can also lead to significant water wastage and increased utility bills. Fortunately, changing a tap washer is a simple DIY task that can restore your tap to perfect working order. This guide will walk you through the process step by step, ensuring you can handle this common household repair with confidence and ease.
Equip Yourself: What You’ll Need
Before you start, gathering the right tools and materials is essential. You’ll need a few basic items: an adjustable wrench, a screwdriver, a new washer that matches the size and type of the old one (often rubber), and possibly some penetrating oil if the tap’s components are stiff or corroded. It’s also a good idea to have some cloth or a small towel handy to catch any drips and to protect the tap’s finish from scratches.
Step 1: Preparation and Safety
First, ensure your working area is safe. Turn off the water supply to the tap. This is usually done via the isolation valve located under the sink or, if there isn’t one, you might need to shut off the main water supply. Once the water is off, open the tap to release any water left in the line. This also helps to relieve any pressure built up within the pipes.
Step 2: Disassemble the Tap
Now, it’s time to take the tap apart. Begin by removing the tap handle. This is typically held in place by a screw, which may be concealed under a decorative cap at the top of the handle. Use the screwdriver to remove the screw and then lift off the handle. Next, use the adjustable wrench to loosen and remove the tap’s cover (if present) and the headgear nut, exposing the washer underneath.
Step 3: Replacing the Washer
With the tap components exposed, you can now see the faulty washer. Remove it—this may require gently prying it off with a screwdriver if it’s particularly stiff or stuck. Take your new washer, ensuring it’s the exact size and type as the one you’re replacing, and fit it into place. It’s crucial that the washer fits snugly and is properly aligned to ensure a good seal.
Step 4: Reassembly and Testing
Once the new washer is securely in place, reassemble the tap by reversing the disassembly steps. Replace the headgear nut and tighten it with the wrench, attach the tap handle, and secure it with the screw. Finally, turn the water supply back on and test the tap. Open it to check for leaks and ensure the washer is holding well. If there’s no dripping and the flow of water is steady, you’ve successfully changed your tap washer!
Maintenance Tips to Prolong Your Tap’s Life
Regularly checking and replacing washers can prevent more significant tap issues. Additionally, cleaning your tap’s aerator— the small screen at the end of the spout—can help maintain a consistent water flow and reduce sediment buildup. These simple maintenance steps can extend the life of your taps and ensure they function efficiently year-round.
By following these straightforward steps, you can effectively change a tap washer and tackle one of the most common household plumbing tasks. Not only does this save you the cost of a plumber, but it also equips you with the skills to maintain your home’s plumbing system, keeping it in top shape for years to come. Remember, a little DIY can go a long way in home maintenance!
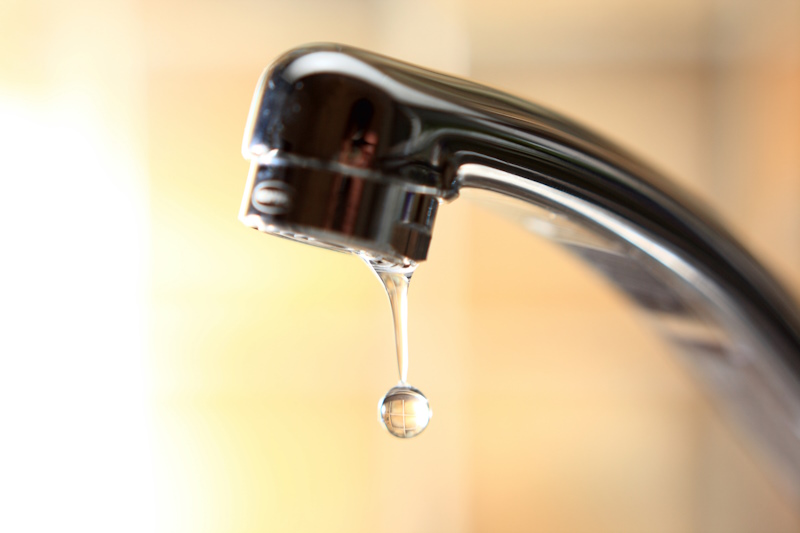
For a visual reference, two images could illustrate the process: one showing the tools laid out before the task and another demonstrating the actual replacement of the washer within the tap’s assembly. These visuals can aid in understanding the process and ensuring each step is executed correctly.